Crafting intricate wood carvings is a meticulous art form that requires precision and attention to detail. However, the true beauty of a wood carving is not fully realized until it has been sanded and polished to perfection. Sanding and polishing are essential steps in the wood carving process that can elevate a piece from good to exceptional. In this article, we will explore the techniques and tools needed to achieve a flawless finish on your wood carvings.
Preparing the Surface
Before diving into the sanding and polishing process, it is crucial to ensure that the surface of your wood carving is free of any imperfections. Begin by inspecting the carving for any rough spots, tool marks, or uneven surfaces. Use a sharp chisel or carving knife to carefully remove any unwanted material and smooth out the surface. Taking the time to prepare the wood carving before sanding will result in a more uniform and professional finish.
Selecting the Right Grit
When it comes to sanding wood carvings, choosing the right grit sandpaper is key to achieving a smooth finish. Start with a coarse grit sandpaper, around 80 to 120 grit, to remove any remaining tool marks and shape the carving. As you progress, gradually move to finer grit sandpapers, such as 180 to 220 grit, to refine the surface and eliminate any scratches left by the coarser grits. Finally, finish off with a very fine grit sandpaper, around 320 to 400 grit, to achieve a silky smooth surface ready for polishing.
Sanding Techniques
To achieve a flawless finish on your wood carving, it is essential to employ proper sanding techniques. When sanding intricate details or tight spaces, use sandpaper wrapped around a small piece of dowel or a soft sanding block to maintain control and prevent over-sanding. Always sand with the grain of the wood to avoid creating unsightly cross-grain scratches that can be difficult to remove during the polishing process. Take your time and sand methodically, ensuring that you cover the entire surface evenly for a uniform finish.
Polishing for a Professional Shine
Once the wood carving has been sanded to your satisfaction, it is time to move on to the polishing stage. Polishing not only enhances the natural beauty of the wood but also provides a protective layer that can help preserve the carving for years to come. Begin by applying a small amount of fine-grit polishing compound to a soft cloth or felt pad. Work the compound into the surface of the wood carving using small circular motions, applying gentle pressure to achieve a lustrous shine.
Buffing for the Final Touch
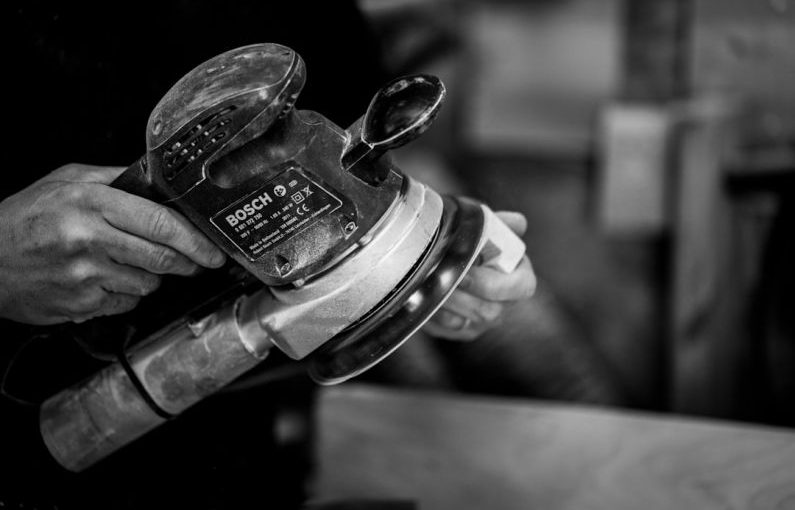
To complete the finishing process, buffing the wood carving is essential to bring out its full beauty. Using a clean, soft cloth or a buffing wheel attached to a power tool, gently buff the surface of the carving in circular motions. This final step will help remove any excess polishing compound and reveal a glossy finish that highlights the intricate details of the wood carving. Take care not to apply too much pressure during buffing, as this can cause the finish to become uneven or streaked.
Elevating Your Craftsmanship
Sanding and polishing wood carvings require patience, precision, and a keen eye for detail. By following these techniques and utilizing the right tools, you can elevate your craftsmanship and create wood carvings that truly stand out. Remember to take your time, work methodically, and enjoy the process of perfecting the finish on your wood carvings. With practice and dedication, you can master the art of sanding and polishing, turning your creations into works of art that are sure to impress.