Relief carving is a captivating form of art that has been practiced for centuries, dating back to ancient civilizations. This technique involves carving designs into a flat surface, leaving the raised portion as the final artwork. Understanding the basics of relief carving is essential for anyone looking to delve into this intricate and rewarding craft.
Types of Relief Carving
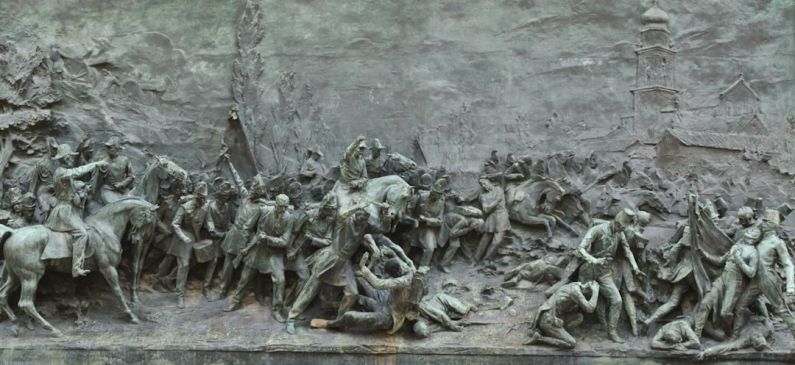
There are two main types of relief carving: high relief and low relief. High relief carving involves carving the design deep into the surface, creating a prominent three-dimensional effect where the figures or objects appear to be almost fully detached from the background. On the other hand, low relief carving, also known as bas-relief, features a more subtle approach with the design carved only slightly above the surface, creating a more delicate and shallow effect.
Tools of the Trade
To embark on a relief carving project, it is essential to have the right tools. Some basic tools commonly used in relief carving include a carving knife, gouges of various shapes and sizes, chisels, mallets, and sandpaper for finishing touches. Each tool serves a specific purpose, from roughing out the initial design to adding intricate details and achieving a smooth finish. Investing in quality tools is crucial for achieving precision and finesse in your relief carving projects.
Choosing the Right Material
Selecting the appropriate material is another crucial aspect of relief carving. Common materials used for relief carving include wood, stone, and plaster. Each material offers its unique characteristics and challenges. Wood is a popular choice due to its versatility and ease of carving, while stone carving requires more specialized tools and techniques but results in durable and long-lasting artwork. Plaster is a beginner-friendly option, allowing for easy carving and experimentation with different designs.
Design and Planning
Before starting a relief carving project, it is essential to have a clear design and plan in mind. Sketching the design on paper or transferring it onto the carving surface can help visualize the final artwork and ensure precision in the carving process. Consider factors such as composition, balance, and depth to create a visually appealing and cohesive relief carving.
Techniques and Tips
Mastering various carving techniques is key to achieving intricate and detailed relief carvings. Some common techniques include chip carving, stop cut, and undercutting. Chip carving involves removing small chips of wood to create intricate patterns and textures, while stop cut is used to define the edges of the design. Undercutting involves carving underneath the raised portions to create depth and dimension in the artwork. Practice and experimentation with different techniques will help improve your carving skills and creativity.
Finishing Touches
After completing the carving process, it is essential to pay attention to the finishing touches to enhance the overall appearance of the relief carving. Sanding the surface to remove any rough edges and imperfections, applying a finish such as varnish or paint to protect the artwork, and adding embellishments or accents can elevate the final piece. Taking the time to refine and polish your relief carving will result in a professional-looking and visually striking artwork.
In essence, relief carving is a versatile and engaging form of art that allows for creativity and expression. By understanding the basics of relief carving, mastering essential techniques, and practicing with dedication and patience, you can create stunning and intricate relief carvings that showcase your skill and passion for this timeless craft. Explore different materials, experiment with designs, and let your imagination soar as you embark on your relief carving journey.