Achieving perfectly smooth carvings is a goal for many woodworkers and artisans. Whether you are working on a small craft project or a large sculpture, the right sanding tools and techniques are essential to achieve a flawless finish. From selecting the appropriate tools to mastering the right sanding techniques, there are various factors to consider when striving for smooth carvings that showcase your craftsmanship.
**Choosing the Right Sandpaper Grit**
Selecting the correct sandpaper grit is the first step in achieving smooth carvings. Coarse grits such as 60 to 100 are ideal for removing rough surfaces and shaping the carving. As you progress, move on to medium grits like 120 to 180 for refining the shape and smoothing out any remaining imperfections. Finally, use fine grits ranging from 220 to 400 for achieving a polished, smooth finish. Remember that using the right grit at each stage will save you time and effort in the long run.
**Utilizing Sanding Blocks**
Sanding blocks are invaluable tools for achieving even and consistent results. They provide a flat surface for sandpaper, ensuring that pressure is distributed evenly across the carving. When using a sanding block, move it in a circular or back-and-forth motion to prevent creating uneven patches. Additionally, sanding blocks are available in various shapes and sizes to accommodate different carving contours, making them versatile tools for achieving a smooth finish.
**Incorporating Detail Sanders**
Detail sanders are essential for reaching tight spaces and intricate details in carvings. These specialized tools come in various shapes, including triangular and rectangular, to access hard-to-reach areas that conventional sanders cannot reach. Detail sanders are particularly useful for refining intricate designs and ensuring that every part of the carving is smooth and polished. When using a detail sander, work carefully to avoid over-sanding and damaging delicate areas of the carving.
**Mastering Hand Sanding Techniques**
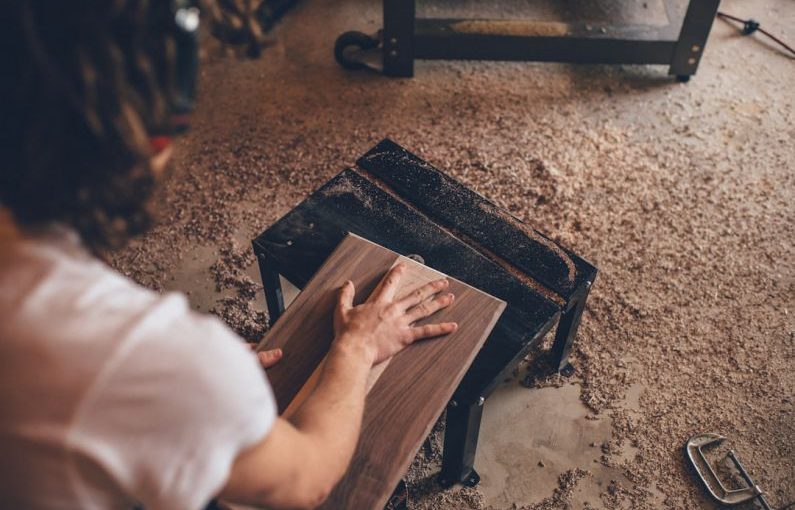
Hand sanding is a skill that every woodworker should master to achieve perfectly smooth carvings. When hand sanding, use a light touch and move the sandpaper in the direction of the grain to prevent creating scratches or uneven surfaces. Start with a coarse grit and gradually work your way up to finer grits for a flawless finish. Keep the sandpaper flat against the carving to maintain a consistent smoothness and avoid creating dips or grooves.
**Utilizing Power Sanders**
Power sanders are efficient tools for quickly sanding large areas and achieving a smooth finish. Random orbital sanders are versatile options that combine the fast sanding action of a belt sander with the swirl-free finish of a finishing sander. When using a power sander, start with a medium grit sandpaper and gradually progress to finer grits for a polished surface. Remember to move the sander in a fluid motion to prevent creating swirl marks or uneven patches.
**Maintaining Sharp Tools**
Sharp carving tools are essential for achieving smooth carvings that require minimal sanding. Dull tools can cause tear-out and rough surfaces, leading to more extensive sanding to correct the imperfections. Regularly sharpen your carving tools to ensure that they cut cleanly and smoothly through the wood. By maintaining sharp tools, you can reduce the amount of sanding required and achieve a finer finish with less effort.
**Achieving a Flawless Finish**
To achieve a flawless finish on your carvings, it is essential to pay attention to detail and take your time throughout the sanding process. Start with coarse grits to shape the carving and remove imperfections, then progress to finer grits for a smooth and polished surface. Utilize a combination of hand sanding, power sanding, and detail sanding to access different areas of the carving and achieve a consistent finish. By mastering the right sanding tools and techniques, you can create perfectly smooth carvings that showcase your skill and craftsmanship.


